Pages
Thursday, February 14, 2013
happy valentine's day love bug
Sunday, September 30, 2012
fall wreath
On one of my weekly trips to Hobby Lobby, or as my hubby likes to call it... the money pit, I noticed all these beautiful wreaths hanging on the wall. Then I noticed the price tag. WOW! Even at 40% off they were still to expensive. Then I remembered that I had a stick wreath at home just sitting in the closet. I took a minute to decide whether I wanted to attempt a wreath or not and in the end I decided what do I have to lose. So I bought a few things and made my very first Fall wreath.
Not too shabby eh?
Friday, September 28, 2012
fall mantle
This past week I have been getting my house ready for my favorite season... Fall!
it is so much fun to get out all the pumpkins and leaves to spread around the house. I honestly don’t think that I have enough, but you know how that goes :)
This last week I went and bought some new frames for my mantle since we recently moved out TV. I personally like this setup way better than when we had the TV up there. But that is a whole nother post which is coming soon!
Here are some pictures of our Fall mantle this year!
And of course I had to throw in some antlers :)
Wednesday, September 19, 2012
Wednesday, November 2, 2011
Herman the Turkey
This year Halloween was uneventful at my house. The boys had just got back in town from a weekend at the deer lease and they raked in enough candy from school that we opted out of trick er treating this year. I know, I don’t have any cute pictures of them in costumes to share, but I have to say that I really enjoyed spending the evening at home with my boys.
The crafting bug must be bitin’ me lately because I have had all these crazy ideas for decorating my house. I could not find anything in the fall décor section at Hobby Lobby that just screamed take me home, so I took matters into my own hands. It made it even better that everything was 50% off!
So last night I made this cute little guy. His name is Herman. And Herman started out a plain white boring turkey, now he is full of life in leopard print and glitter. Isn’t he cute?
I plan on doing similar things for Christmas décor. It is so much more fun to make my own decorations!
Tuesday, August 16, 2011
My Perfect Planner
I spent weeks searching high and low for a ‘mommy planner’ that fit all my needs. But all I found were planners filled with useless things or pages with grocery lists that were just too small for a family of 4.
Being extremely frustrated and needing something to help me map out my days, I sat down with my laptop and created a bunch of spreadsheets in excel. I spent a week tweaking them and making them exactly what I needed. Then decided that I needed a super cute cover for my personalized planner. I chose turquoise and animal prints, just because they are my favorite. I even added my name so I knew it was mine at all times :)
I contemplated just punching holes in the pages and putting them in a 3-ring binder, but I am so glad that I decided against it. Having it spiral bound makes it perfect! I can flip through the pages easily and I take it everywhere. You never know when you are going to need to pencil somethin’ in.
I am so glad that I decided to make my own planner instead of settling for something that I could only use half of. It may have been {a lot} more work, but in the end it was cheaper than any of the others I found and it is exactly what I need.
In addition to being spiral bound my planner has a clear front cover and hard black back. Makes it extra sturdy.
I added a .74 cent pencil pouch to hold things like stamps, coupons, receipts, mailbox keys, a picture of me and my love and things I need to be reminded about.
My monthly layout is of the 2 page kind. I added birthdays and places for notes at either the top or bottom on the pages.
My daily layout is wonderful! I have spots at the top for my to do’s {laundry, etc…}, dinner plans and misc. things. My day goes from 6:30am to 8:30pm so that I can jot down the things that keep my busy during the day.
I have a page for the boys school information that way I always have it on hand when I need it.
I also have a page for important medical information. This just makes it a little easier when needing insurance or doctor info in a hurry. Because I can tell you it takes me forever to find that stuff in my purse.
And lastly in the very back of my planner I have pages for notes, blog ideas and a place to jot down prayer requests as well as several pages for phone numbers.
I am linking up to Wow Us Wednesday @ Savvy Southern Style
Tuesday, July 26, 2011
Front Door Makeover
It has definitely been a crazy week and a half. And because of all the craziness I have completely totally neglected my poor blog. Hopefully things will start slowing down as the new school year gets closer and I will have some more downtime.
This past week with kids playing outside and going to VBS I have been working my fingers to the bone trying to get my house clean and paint the walls that need to be painted.
So, while I was working on my entry way I decided to go ahead and paint the front door like I have been wanting to for the past several months.
Here is what my boring ol’ door looked like before I cracked out the paintbrush.
It is coming along wonderfully.
This was after the first coat of paint. I LOVE the color!!!
Here is the door after both coats of paint were on.
Ain’t she a beauty?
Here is a close up of my fabulously rustic chic door came out.
And it was super easy! What I did was mix RustOleum metallic paint in Oil Rubbed Bronze {1/2 part} with a faux finishing glaze {4 parts} and brushed it on with a paint brush then wiped it off with a rag. Now I am sure there are better ways to do this, but seeing how it was my first time trying something like this I am super happy with the results.
Drumroll please….
Ta Da! Here is the final product…
Now my door is a one of a kind original! :)
Thursday, April 21, 2011
No Sew Camera Strap Cover
I have been wanting to either buy me a new camera strap or a camera strap cover for a while now. The only problem is they are not cheap. So you can imagine how excited I was when I stumbled across this wonderful no sew camera strap tutorial over at Blessed Beyond Measure. It’s perfect because I don’t know how to sew. Shhhh! Don’t tell anyone.
The whole project cost me less than $5 and took me about 30 minutes.
I started out with my camera strap and my black and white polka dot fabric from Wal-Mart. It cost a whopping $1.99/yd. on clearance.
Next came the Heat n Bond. This stuff is amazing and it was $1.99 at Wal-Mart as well.
I forgot to take a picture, but I measured my camera strap and cut the piece of material a little bigger so I had room to hem everything. Then I added the Heat n Bond according to the directions.
Voila! And there you have one pretty no sew camera strap cover.
Here you can see how beautifully my new cover goes with my teal camera bag.
I will eventually add something to give my camera strap cover just a little more personality, but today I do not have time. And just so you know this picture was taken with my iPhone :)
Friday, September 3, 2010
Breakfast Tray
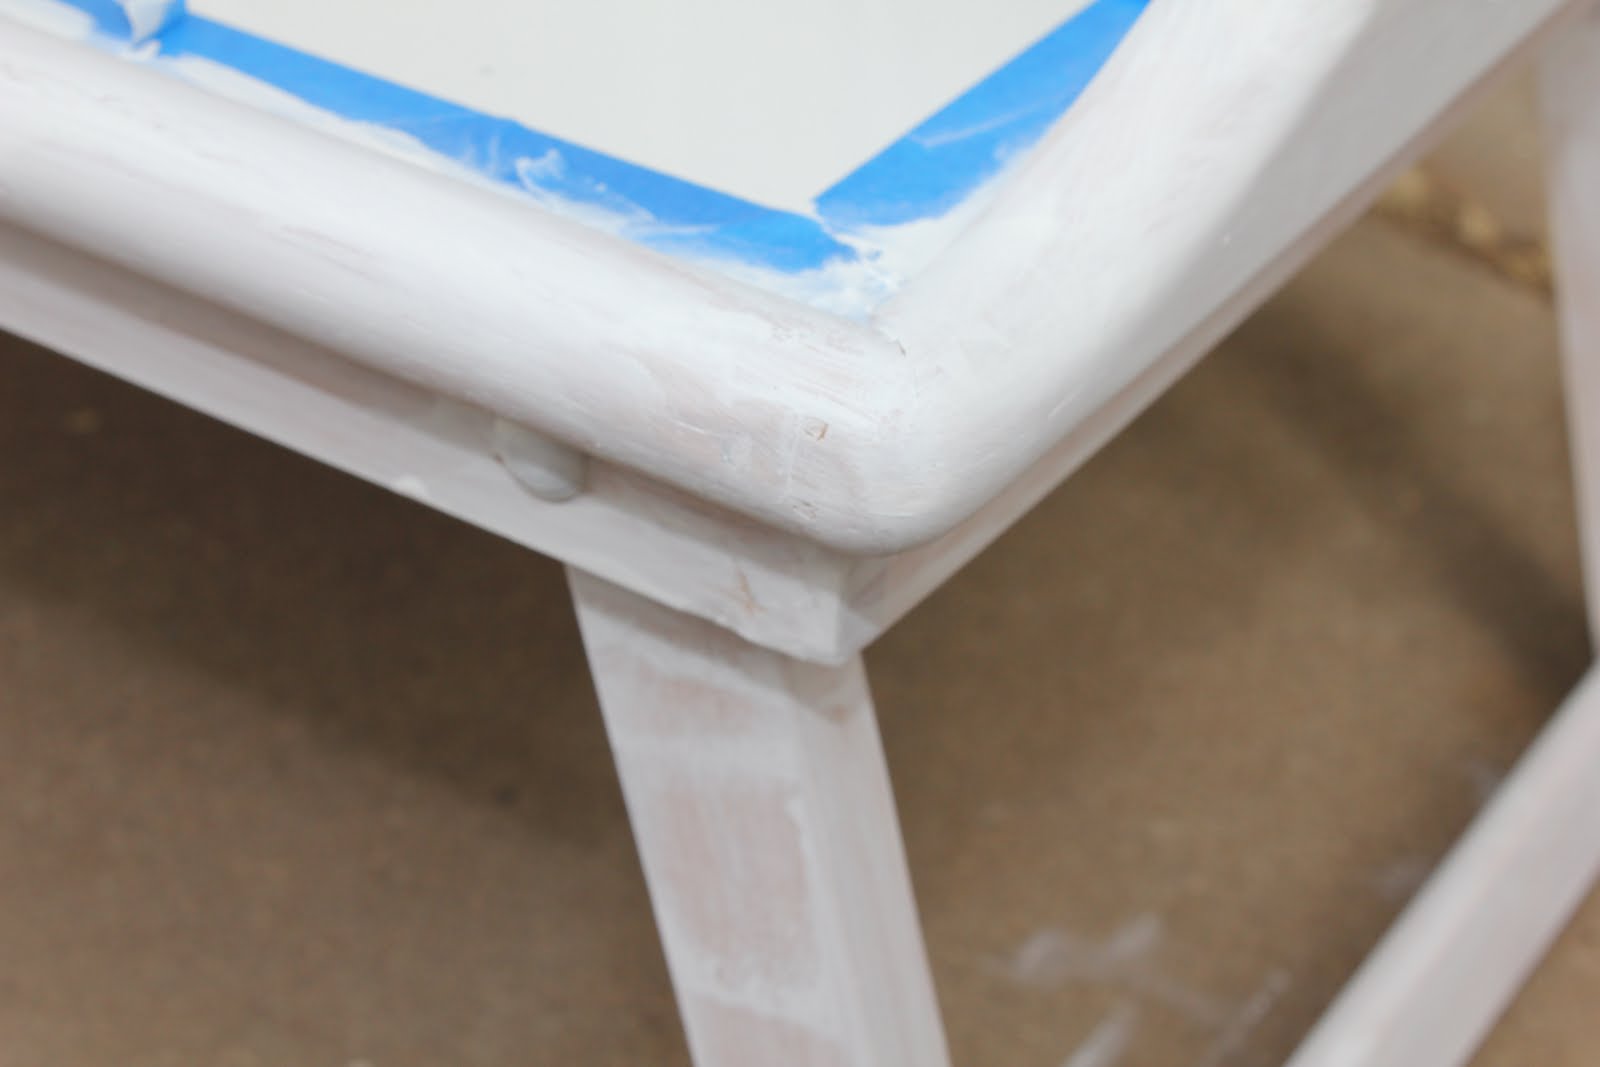
Today as I was cleaning up my room to start painting tomorrow, I saw this breakfast tray sitting in the corner collecting dust. I got it at Target a couple of year ago to use while I was reading in bed. As I was looking at it I got a bright idea DING! the light bulb went off. I had bought paint samples the other day at Home Depot, you know those 8oz. Behr ones you can make any color and are only $2.47, well I got one in Caribbean Blue because I thought that is what color I wanted to paint my bathroom. Well, I had this paint and this breakfast tray... so I decided to paint my tray Caribbean Blue and use as a bed tray once I get my room complete. And I am so happy that I did because I LOVE IT!!!!
Tuesday, August 24, 2010
An Apple a Day...